ChatGPT的火爆帶出AI主題的熱度井噴。Edge AI可能會是AI熱潮下一波會帶起的市場。Edge AI的特點是要求低成本、低功耗,可以“遍地開花”式的部署(所以“傳統”的GPU爲基礎的AI平臺並不適合)。Oracle Cloud甲骨文提供的Ampere A1 ARM架構虛擬機就具備Edge AI的能力,而且還是向全世界用戶免費提供!從算力成本來說,Oracle 甲骨文可以說是佛心到天花板,要知道現時能達到相似AI算力的Rasberry Pi + Coral Edge TPU的組合輕鬆突破$200美金,而Oracle Cloud竟然能免費大贈送。各位AI愛好者不能不試。
摘要節點
Ampere A1 虛擬機在Oracle Cloud上的視覺AI表現
小U在上一文在免費的Oracle Cloud Ampere A1虛擬機上運行視覺AI是什麼體驗 分享了利用Ampere公司提供的鏡像運行Tensorflow下的 ssdmobilenet 和 YoloV3的錄像視頻:
可見Oracle提供的Ampere A1 高達3.0Ghz的四個CPU、高達24GB的內存,運行視覺AI 比起 Rasberry Pi 本身實在強了太多,而且還是免費,詳見Oracle Free Tier的介紹。
如何免費獲得Ampere A1 ARM雲主機?
中文網域上有大量的資料教學如何利用Ampere A1 來做VPN Server伺服器(大陸俗稱“梯子”),所以小U在此就不再詳細說明了。我覺得用Ampere A1 如此強大的性能來做VPN而已,實在是浪費資源。
什麼是Object Detection API?如何安裝?
學習視覺AI很大機會會碰上這篇教學或者是YouTube上的這個影片:
這兩個教學都會要你安裝Object Detection API來調用物件辨識的AI Framework。
我在上一篇文章中說到了根據TF的官方Github指引來安裝Object Detection API遇到困難,多得Ampere AI 團隊 ( [email protected]
) 尤其是Frank Lee和Samhitha Mamindla 的指引,我成功地在ARM機上安裝了Object Detection API。以下是Object Detection API的詳細安裝步驟。
TensorFlow Object Detection API的詳細安裝步驟
由於在ARM架構暫時並不是運行AI的主流平臺,導致一些“一鍵安裝”script、安裝指引並爲爲ARM64平臺而設,所以安裝TensorFlow Object Detection API的步驟就多一些:
安裝合適版本的Bazel編譯器
/* Pre-requisite install */
sudo apt install g++ unzip zip
然後從Bazel的Github release中找到5.1.1版本的源碼:
/* Download the Bazel source file */
wget https://github.com/bazelbuild/bazel/releases/download/5.1.1/bazel-5.1.1-linux-arm64

/* Grant execute authority to the Bazel source */
chmod +x bazel-5.1.1-linux-arm64

/* Compile Bazel */
./bazel-5.1.1-linux-arm64運行完畢後,bazel-5.1.1-linux-arm64就成了一個可執行運行的Binary檔案,相當於Windows中的EXE。爲了可以直接讓系統執行,而不需要每次都找回bazel-5.1.1-linux-arm64這個檔案,我們把它改名爲bazel並且放到/home/ubuntu/bin/ 文件夾中:
/* Your code... */mv bazel-5.1.1-linux-arm64 /home/ubuntu/bin/這時運行 bazel –version 應該會現時5.1.1 的版本號。這樣就安裝成功。
利用Bazel從源編譯Tensorflow-addons套件
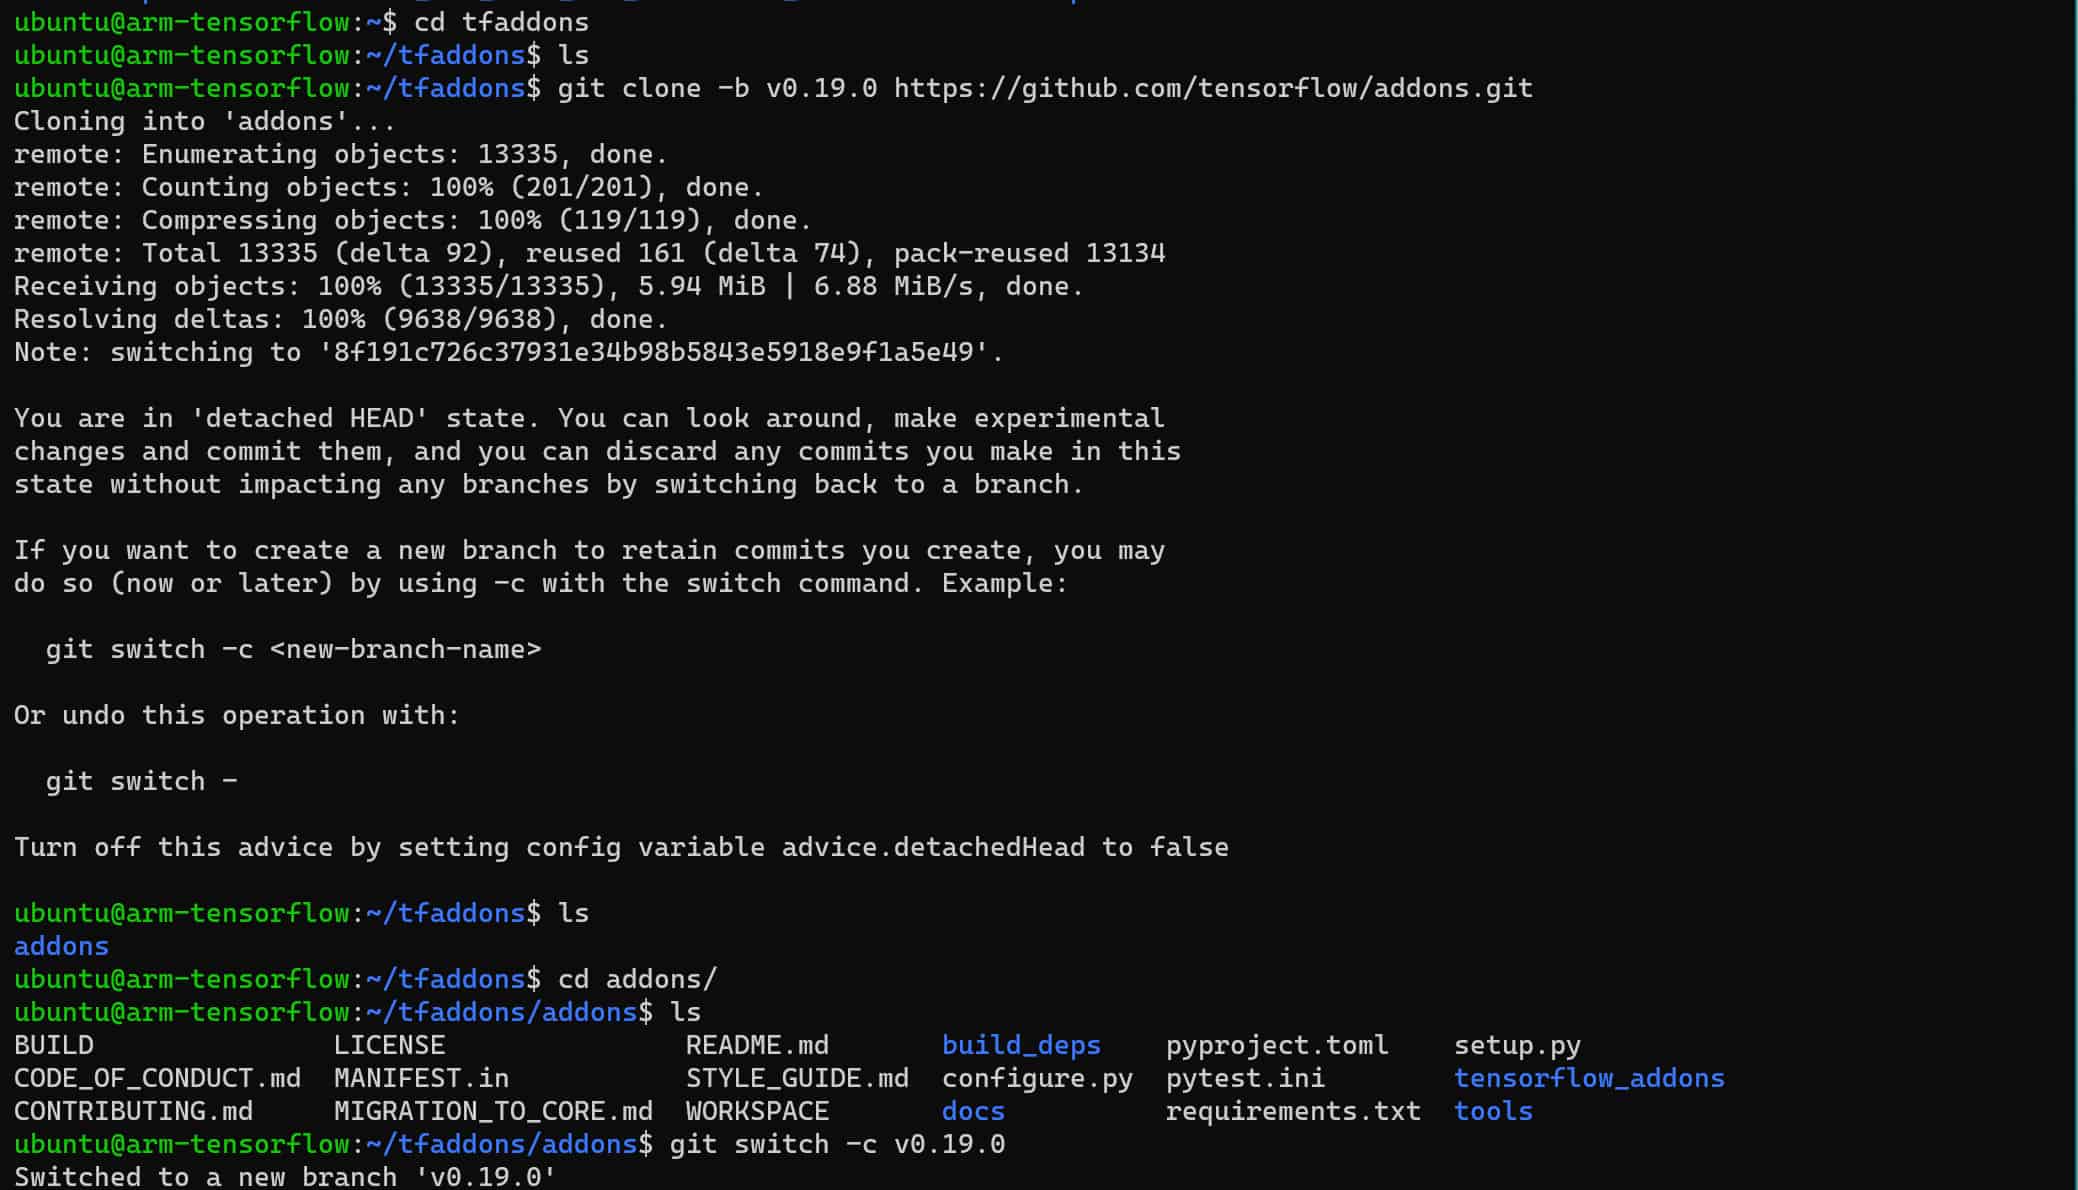
安裝TensorFlow Object Detection API需要有Tensorflow-addons,根據TF官方指引,Ampere 鏡像預裝的TF2.9版本對應的addons是0.19.0。
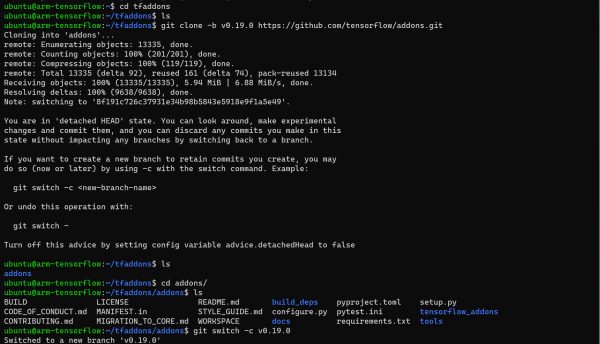
/* Clone the source from github */
git clone -b v0.19.0 https://github.com/tensorflow/addons.git

cd addons
git switch -c v0.19.0
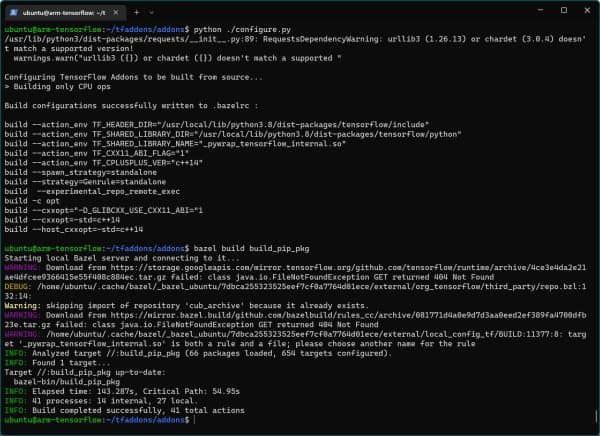
python ./configure.py
bazel build build_pip_pkg
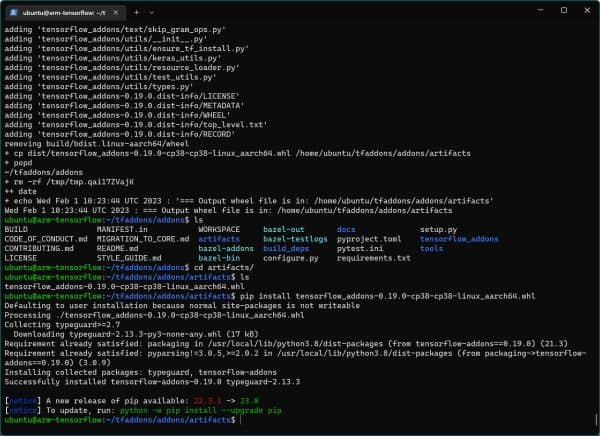
bazel-bin/build_pip_pkg artifacts
pip install artifacts/tensorflow_addons-*.whl
以下是一些截圖步驟供參考:
根據官方指引安裝TensorFlow Object Detection API
最後做了這麼多準備功夫,就可以按照TensorFlow Object Detection API官方Github的指引安裝:
/* Follow the installation guide on Github */
git clone https://github.com/tensorflow/models.git
cd models/research
protoc object_detection/protos/*.proto --python_out=.
/* If protoc was not installed, the above step might show error. Please do $ sudo apt install protobuf-compiler */

cp object_detection/packages/tf2/setup.py .
python -m pip install --use-feature=fast-deps .
/* In the guide, the 2020-resolver feature is depreciated. Use fast-deps instead */
確認Object Detection API安裝成功
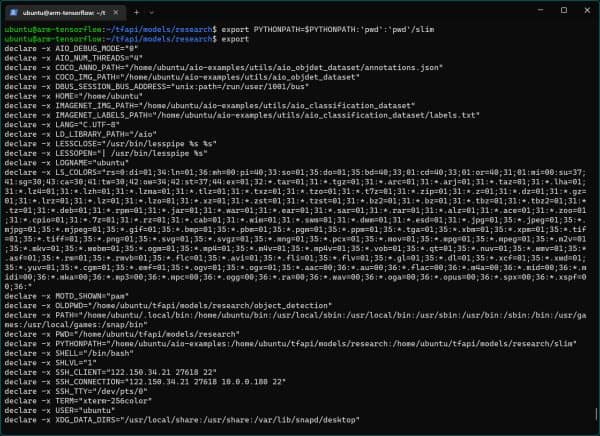
將model加入Python path (我當時漏了這一步導致還是不能運行):
/* Change <path-to-models> to the models directory */
export PYTHONPATH="${PYTHONPATH}:<path-to-models>"
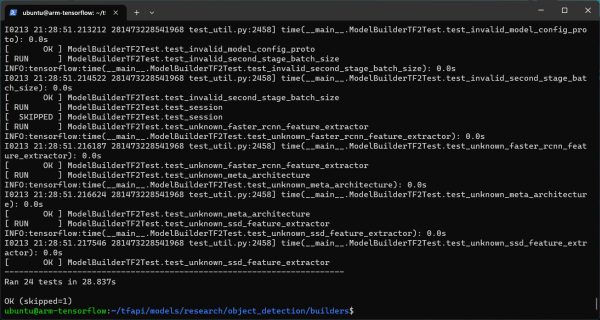
最後就應該能成功運行測試script:
python object_detection/builders/model_builder_tf2_test.py
下一步我想繼續探索在Ampere 或其他ARM平臺上運行其他視覺AI Framework的效能。供大家參考
歡迎留言討論~!


